|
Bonjour!  ⊰Brittany Wolf⊱ Hello- This blog is dedicated to my creatures and my WIP's Please feel free to leave comments :) Tags
|
My Mold Making Process I learned how to make molds from trial and error, even though I followed tutorials found online. Its rather expensive to mess up too. But thankfully you can cut up bad molds (as long as they dont have mold release on them) and use them in your newer molds. Tips:
  First you need to build up a base for your clay. Since I add the eyes from the back the heads need to be a 2 part mold. Make sure there are no spaces where the silicone can leak in!  However the heads need mold boxes. For the kitten I was lucky enough a kleenex box was the perfect size. I just tore the sides apart so I can glue them the opposite way (makes it less likely for a leak!)  Now for the cat head. The materials I used were CardBoard, and hotglue. Looottsss of hotglue. SO first I drew down the base the head will be on. Then I measured how high the head sat (WITH the clay) and added about an inch. You want plenty of mold space ontop (but not too much to where you are wasting it!) I cut out panels that I will glue together. Some areas I should've just cut as one piece but of course its too late now lol. At this point use some hot glue (theres a theme appearing I think) and add some to the bottom of the piece and glue it to the cardboard. Then blend the clay to the board so no silicone leaks underneath.  Then comes the fun part. Heat up your glue gun and get out your bags of hot glue. start by gluing the bottoms, making sure theres no spacing. Then start gluing the sides together. Use lotsa hot glue. Its NOT about making them connect, Its about making sure there are NO holes for the silicone to leak through!! 
Now sometimes you get spaces from not cutting the Cardboard perfectly *cough* so if you get holes like this know what you do? Yup! Fill that sucker with hot glue!

Spread it on there like Jelly. Or peanut butter. Whichever you perfer!
     The only leak I had was on the big one (OF COURSE) but they were small and only leaked a little bit. If you find yourself with a stupidly big leak, use your clay and try to dam that sucker up. It will be messy, but its better then wasting a lot of silicone. Keep an eye on it too!   
Now to remove your molds from their enclosures! (after 24 hours of course) More then likely your 'boxes' will need to be destroyed to get those suckers out. But if you know you are making a 2 part mold try not to ruin it too much, you need it for the other side!
When you remove your clay and you didn't smooth it out nice enough *cough* you will have clay stuck to your mold. Try cleaning it off the best you can- it will be annoying to try and pour your resin and get clunks of clay in it because you didn't clean your mold!

I tried saving the box for this one but realized I didn't need to XD

Now for the monster... this is literally the BIGGEST mold I have ever made.

Its shape reminds me of Finn
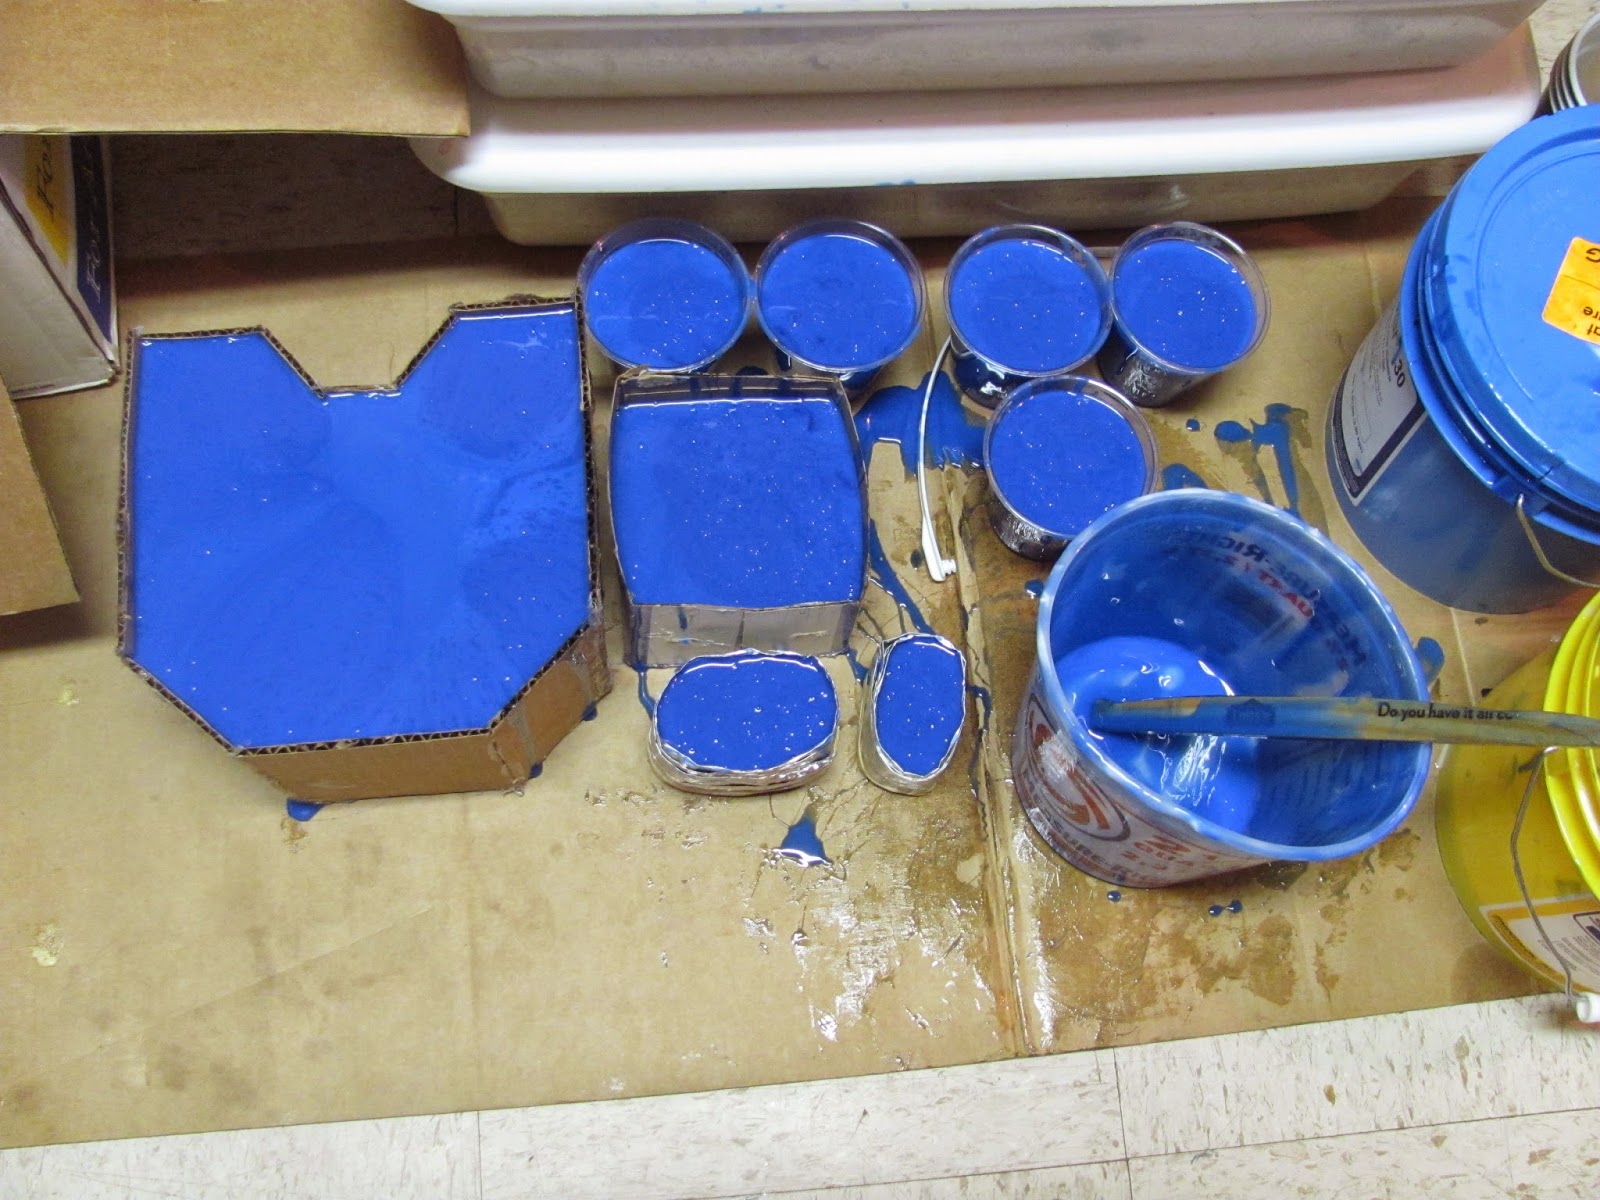
  I use Vaseline since my mold release is empty (why didn't I just throw it away? bah.) When using vaseline don't glob it on. spread it evenly, and make sure you cover any silicone part showing! I even cover the original just because I can. If you dont use mold release you will have to cut it out and it just makes extra work :/    Notes on this set: The big head had some issues getting it out. So I had to cut vertical lines around it so I can get it out safely. I cut my vents out from the 2nd part of the mold. The others did not need any of this done. The silicone I used was: Mold Star 30 For junk casting I used: Smooth Cast 305
TUTORIALS
Sadly a lot of tutorials I have seen in the past are no longer here :( So I will try to add as many as I can to this list that are still active.
|

 Hello. My name is Brittany Wolf. I was born in Las Vegas Nevada in '88. Ever since I can remember I would draw. My mother being my biggest influence, doing things from stained glass to murals to airbrushing and sewing. I started my love for sculpting in my softmore year of highschool, but only recently in '10 I decided to make it my profession.

