|
Bonjour!  ⊰Brittany Wolf⊱ Hello- This blog is dedicated to my creatures and my WIP's Please feel free to leave comments :) Tags
|
Behind the veil of life, beyond the look of eyes What I'm going for was a golden look but for some reason I kept making it look like fire (I was adding too much red....silly me). Quite the opposite of what I need lol. So I went for a more toned down look and got the result I needed! This is a quick preview of what is to come :D The resin I have in it will change since this one has too many bubbles. Also it will be domed just a little more. So excited about this one :D Labels: eyes, Faeline, moss, wip My Mold Making Process I learned how to make molds from trial and error, even though I followed tutorials found online. Its rather expensive to mess up too. But thankfully you can cut up bad molds (as long as they dont have mold release on them) and use them in your newer molds. Tips:
  First you need to build up a base for your clay. Since I add the eyes from the back the heads need to be a 2 part mold. Make sure there are no spaces where the silicone can leak in! These will be make into a Block Mold. Block molds are where its a 1 part mold and you CUT the piece out, making a seamline down the side. So I just used hotglue to glue these to the bottom of the cups, no clay needed. So these are pretty much ready for pouring silicone! However the heads need mold boxes. For the kitten I was lucky enough a kleenex box was the perfect size. I just tore the sides apart so I can glue them the opposite way (makes it less likely for a leak!) Now for the cat head. The materials I used were CardBoard, and hotglue. Looottsss of hotglue. SO first I drew down the base the head will be on. Then I measured how high the head sat (WITH the clay) and added about an inch. You want plenty of mold space ontop (but not too much to where you are wasting it!) I cut out panels that I will glue together. Some areas I should've just cut as one piece but of course its too late now lol. At this point use some hot glue (theres a theme appearing I think) and add some to the bottom of the piece and glue it to the cardboard. Then blend the clay to the board so no silicone leaks underneath. Then comes the fun part. Heat up your glue gun and get out your bags of hot glue. start by gluing the bottoms, making sure theres no spacing. Then start gluing the sides together. Use lotsa hot glue. Its NOT about making them connect, Its about making sure there are NO holes for the silicone to leak through!!
Now sometimes you get spaces from not cutting the Cardboard perfectly *cough* so if you get holes like this know what you do? Yup! Fill that sucker with hot glue!
Spread it on there like Jelly. Or peanut butter. Whichever you perfer!
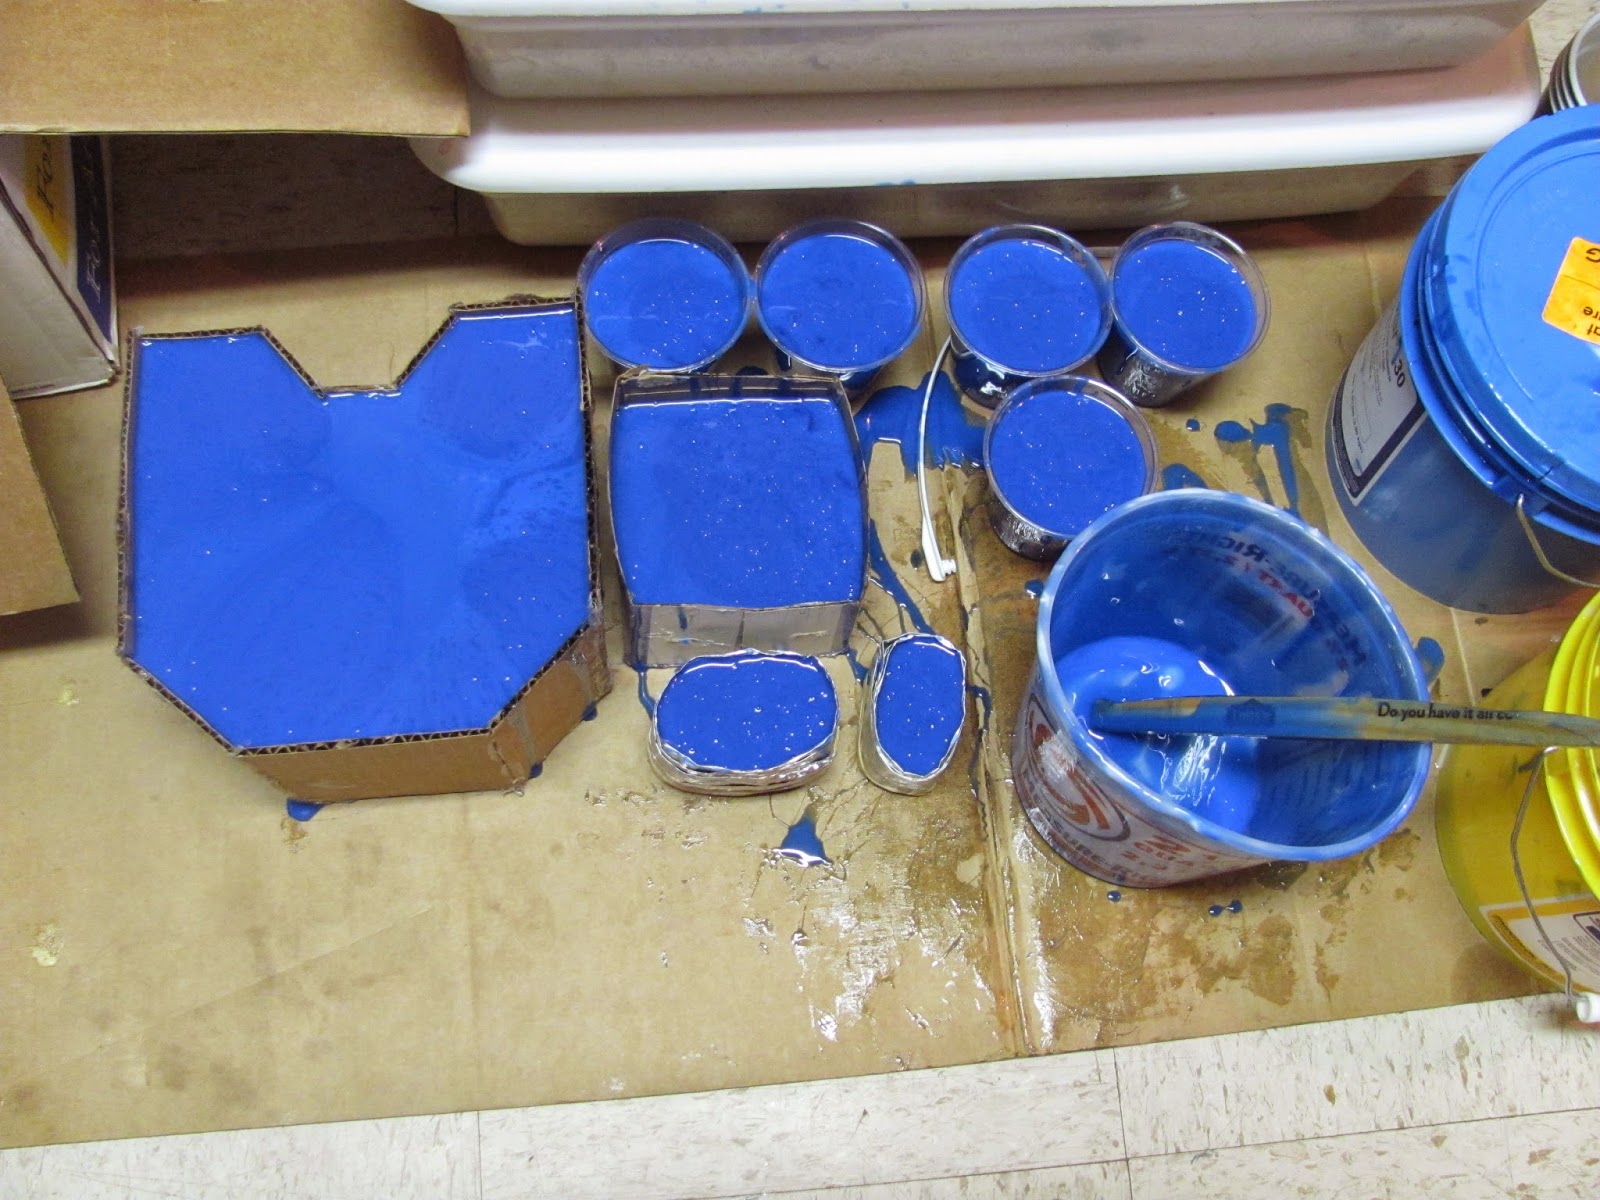
These are my molds! All 9 Of them! The two colorful ones in the middle are the eyes that I will be making :) I used tinfoil as the mold box which I will add the link to the tutorial at the end :) The only leak I had was on the big one (OF COURSE) but they were small and only leaked a little bit. If you find yourself with a stupidly big leak, use your clay and try to dam that sucker up. It will be messy, but its better then wasting a lot of silicone. Keep an eye on it too!
Now to remove your molds from their enclosures! (after 24 hours of course) More then likely your 'boxes' will need to be destroyed to get those suckers out. But if you know you are making a 2 part mold try not to ruin it too much, you need it for the other side!
When you remove your clay and you didn't smooth it out nice enough *cough* you will have clay stuck to your mold. Try cleaning it off the best you can- it will be annoying to try and pour your resin and get clunks of clay in it because you didn't clean your mold!
I tried saving the box for this one but realized I didn't need to XD
Now for the monster... this is literally the BIGGEST mold I have ever made.
Its shape reminds me of Finn
Now onto the 2nd part! DO NOT REMOVE THE ORIGINAL INSIDE THE MOLD! Why? Because when you pour the silicone the first time it almost makes a SEAL around your piece- and when you remove it it breaks that seal making the 2nd part of the silicone able to seep between the two. Which is bad. So don't. I use Vaseline since my mold release is empty (why didn't I just throw it away? bah.) When using vaseline don't glob it on. spread it evenly, and make sure you cover any silicone part showing! I even cover the original just because I can. If you dont use mold release you will have to cut it out and it just makes extra work :/ So I did a little experiment with this. I used the cured mold leftover from my first pour, rolled it up, rubber banned it, and stuck it in the middle of my 2nd pour to act like a handle. The sticks were only to keep it in place and make sure it stays put. I also covered it in silicone to adhere it better to the 2nd pour. So now for a cup of tea while you wait however many hours your manufacturer says to wait for it to cure :) (mine was six) After its cured you're done!! Now its time to pour a junk cast (which cleans out your mold and lets you know if you need to add pour spouts or air vents) Notes on this set: The big head had some issues getting it out. So I had to cut vertical lines around it so I can get it out safely. I cut my vents out from the 2nd part of the mold. The others did not need any of this done. The silicone I used was: Mold Star 30 For junk casting I used: Smooth Cast 305
TUTORIALS
Sadly a lot of tutorials I have seen in the past are no longer here :( So I will try to add as many as I can to this list that are still active.
Furry Face! I might take off the colorful parts- I mainly used them to play with layering. Next time I might apoxie the nose a little bit to bring it out more. I still need practice on furring, but if anyone is interested this is the way I did it:
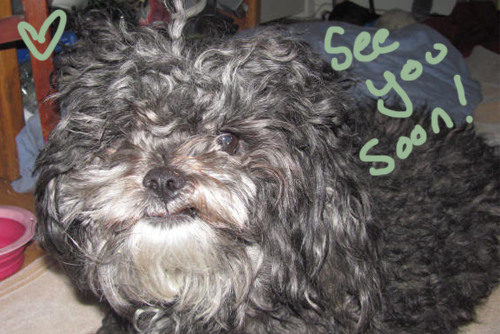
Fur Update and some Life things Just about done, I just have to finish sewing the socks on. I had to take a break since my mom and I are going to be doing a huge yard sale. I have a bunch of items in one garage, and she has a bunch in hers. I'm trying to get it so she doesn't have two- which would save us money since they're rented. I have to have my fiancee help me go through it since I want to keep all his things XD Theres also a bunch of furniture haphazardly strewn throughout it so its just difficult to get to things. I have a bunch of Disney items that I can no longer keep. Like a lifesize puppet of Laverne from Hunchback of Notre Dame. I'll either post those on my DA or Ebay. I'll try DA first since I dont have much luck on Ebay in the past lol. Worm has evolved into Pupae! My dog for comparison (she's a Lhasa-poo). From the size they will be about maine coone sized. I will be making a new faceplate for this one since my last one seemed to small, and the size adjustment on the body I know for a fact will be too small. However I will be sculpting the face after I fur the body. This way I wont have the problem as I did for the last one, which looked fine before furring, but adding the fur made the body bigger, resulting in a smaller face. Labels: Faeline, moss, pupae, wip, worm Follow Me Eyes Test If anyone is interested I could make a tutorial on it. However I have not sealed this- I haven't tested any sealers yet so I wouldn't know what would work best (just yet) I will be making this as an option since I know it creeps some people out ^^ But this style will be used in my next piece. Through the brush Forest themed. I want to add a bunch of interesting things into the moss but I want to see what I have on hand first :D I have the fur ready, so not much waiting after this >:D SO excited! Also I will incorporate better follow me eyes in this one. Labels: artwork, Faeline, moss, wip Quick design look (from previous)
excuse the gritty-ness of the photo- was taken with my 3DS XD
Just to show my design process. I first make a small list of elements used, and make a quick sketch and use colors to decide what I want and where. I try to have fur already in mind so its easier to try and track down what to buy. This one is a rather good example- the grey for the underbelly I couldnt find the right length for, so I dyed a white fur I had already to that color using Acrylics. I might post a tutorial about it but I'm sure in the meantime you can just google how X3. When it comes to painting the face I constantly change my mind on what I want til I get to the actual painting process. Adding elements like gems and symbols tend to happen at this stage more often then on paper. Also what beads and gems I have on hand sometimes work their way in better then ones that I think up. Anyone interested in designs before the finish doll? I think I might do that... |





 Hello. My name is Brittany Wolf. I was born in Las Vegas Nevada in '88. Ever since I can remember I would draw. My mother being my biggest influence, doing things from stained glass to murals to airbrushing and sewing. I started my love for sculpting in my softmore year of highschool, but only recently in '10 I decided to make it my profession.